
Machine Embroidery has helped modernize one of the most ancient arts that continue to this day. Early evidence of embroidery dates back to 3,000BC, including from the tomb of the famous Egyptian Pharaoh Tutankhamun.
Modern technology has enabled a whole new convenience and precision to the design process. Sewing, stitching, and embroidery can be done using automated machines, allowing you to focus more on creating beautiful and more complex embroidery designs.
I discovered machine embroidery in 2008, and have fallen in love with it. Like any sort of design process, machine embroidery requires planning, creativity, and practice, making it a very satisfying hobby.
In this article, I will explain how you can create your own machine embroidery designs.
How to Design Your Own Machine Embroidery Patterns
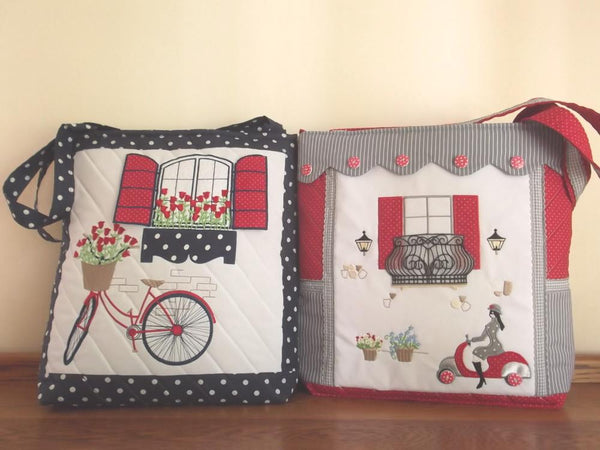
The first step when designing your own machine embroidery patterns is to create your own design or find an image to stitch. This is what I love to do the most, as a creative and artistic person I am always picking up design ideas from the world around me.
Inspiration can come from everywhere:
- Displays in shopping centers
- Handbags with interesting shapes
- Unique flowers and creatures
- Images found while browsing the internet
You can pick up ideas from almost anything, always be sure to have a notebook handy just in case.
I will spend hours (usually listening to my music) sketching a design until it is just right. Once I am happy with the design, I will draw the main outlines with a black pen so a scanner can pick it up.
Why not check out our full range of machine embroidery designs, for some inspiration yourself.
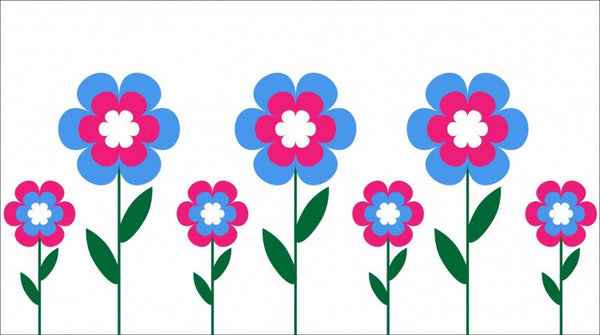
If you are just starting out, you can find nice simple images online to practice digitizing machine embroidery. Try searching Google for what you want to stitch, including the words “vector” or “clipart”. Black & white images are the best for learning with, you can always add color later.
Below is an example of free images on the internet to digitize.
How to Digitize Machine Embroidery Designs
Now that you have your chosen design, the next step is to digitize it for your machine embroidery project.
Embroidery machine dealers will usually give you lessons on digitizing when you buy your machine.
Adjust the Size
Very often images need to be adjusted so that curves, ovals or straights lines are perfect. This can all be done in the digitizing software. When it comes to tweaking the size, the general idea is not to shrink it too much as this will affect the final appearance.
Adjust the Colors
I like to choose a few basic colors to begin with, more can always be added later. It is preferred to use fewer colors within the design to achieve a crisper look.
Adjust Image Settings
In addition to colors, you can also adjust other elements of the image. Butterfly wings can be made symmetrical or text can be made bolder. I often draw on the screen, adding leaves, flowers, or other ideas as they come to me.
I have a lot of fun choosing the right fill stitches for each shape. It is amazing to watch your design take shape on the screen.
Once you have the overall design complete, it is time to sequence the colors and reduce the number of jump stitches, making it easier to stitch out.
Load the File
Now it is time to convert the design to the right format for your embroidery machine. I use Bernina Artista software, it allows me to fully edit my images and create beautiful machine embroidery designs.
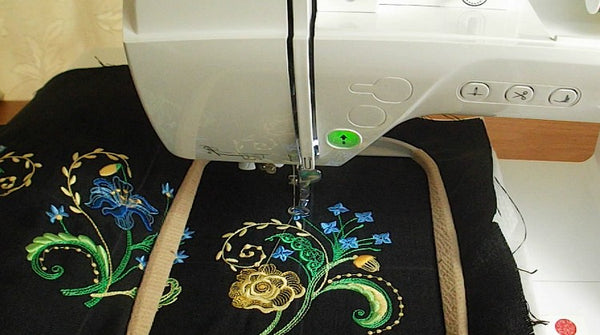
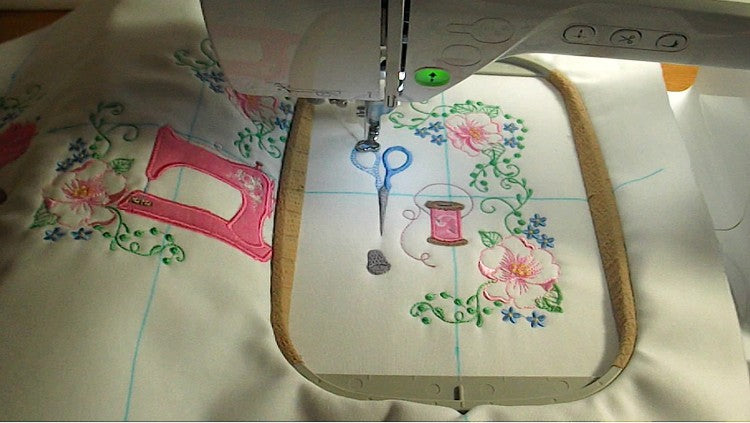
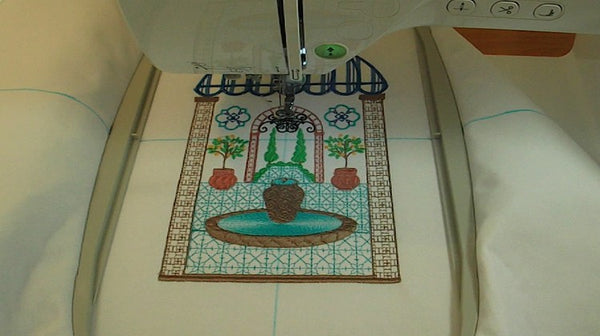
Time to Stitch
Once the embroidery software has worked its magic, you’ll have stitch count and more information about what is going into the final version.
Choose your fabrics to make your embroidery project with the finished design, hoop the fabric, place the hoop in your machine and you are ready to stitch.
Your embroidery machine will show an estimated time for the stitching out. I will take this opportunity to note any little adjustments and sometimes sew the design out again, to get it just right.
We have a nice selection of free machine embroidery designs you can download today to get you going.
Have fun bringing your machine embroidery design to life!
Final Thoughts
There are not many designs or ideas that can’t be stitched with the help of machine embroidery. With patience and practice, digitized embroidery designs can help you create fully customized and more complex projects.
There is a learning curve to go through, stay consistent and keep tweaking your designs, you will see high-quality embroidery projects come to life.
At Enchanting Designs, we have embroidery designs for beginners right through to advanced machine embroidery projects.
Inspired by the beautiful South African landscapes, unique wildlife, and vibrant people, we are sure you’ll find something you love for your next machine embroidery design.


These are beautiful designs. I just found your site today.
THANK YOU
The whole idea of creating this stunning embroidery designs pattern is wonderful I love the way you created and stitched this pattern. I got many ideas with this helpful article. Thanks for sharing. Have a great day!
I like to starch my fabric if possible, before stitching out a pattern. With some websites I always use the suggested colors (maybe that is why I bought those!) but often I play with the colors until they match my quilting fabric!